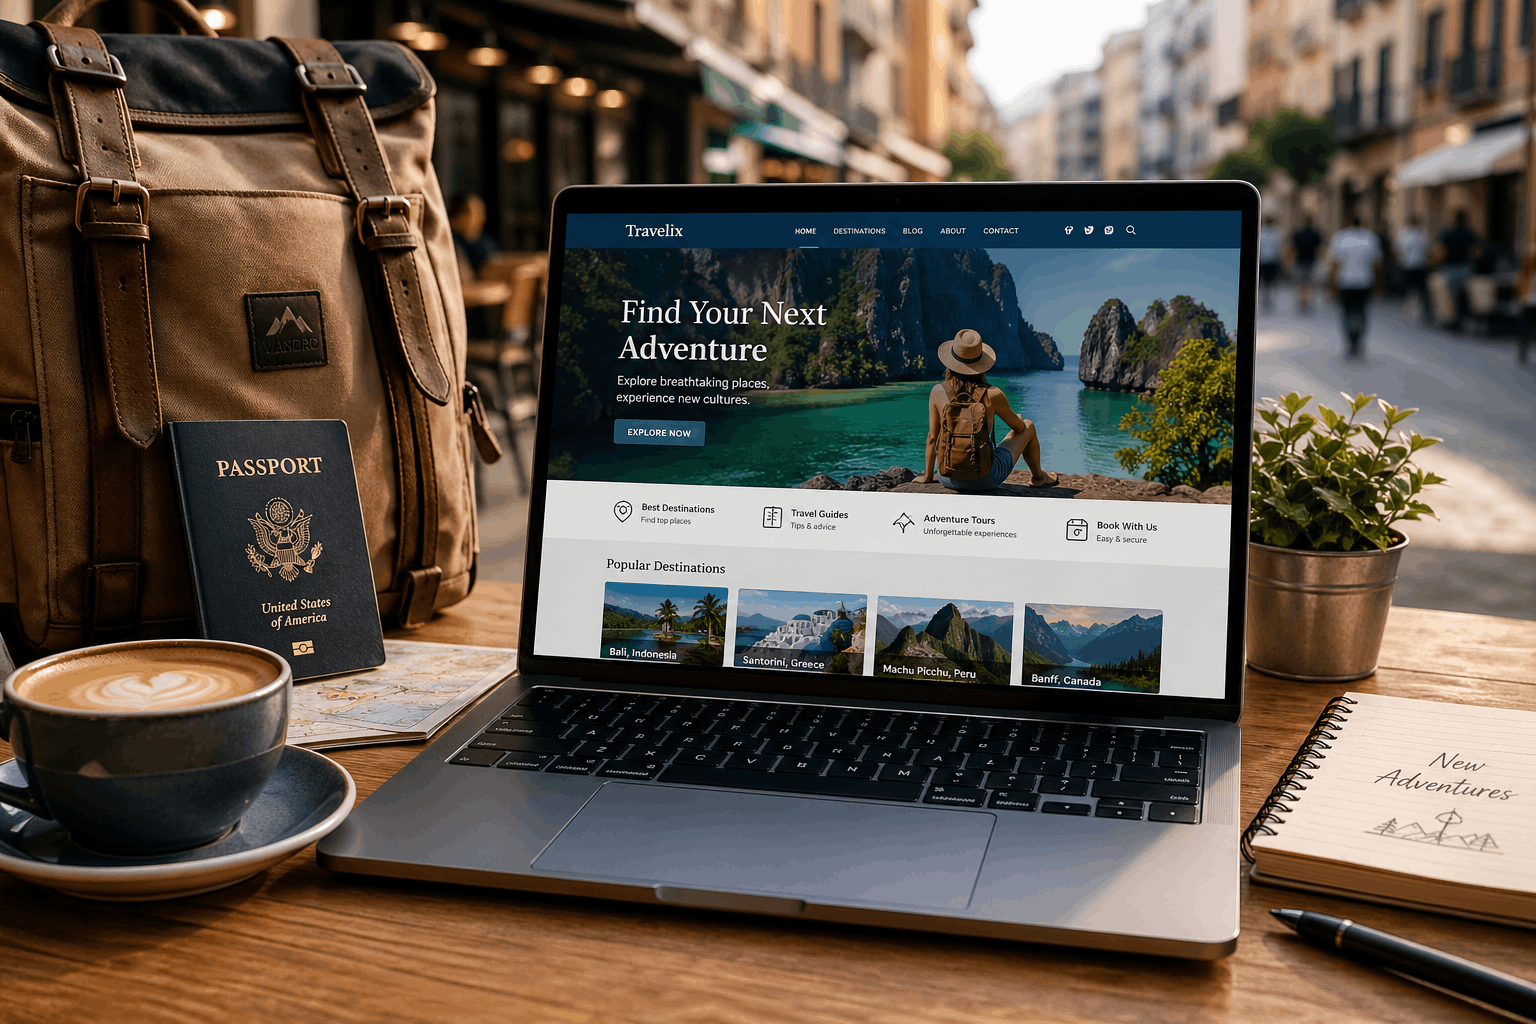
How to Build a Travel Website Using Free HTML5 Templates: A Beginner-Friendly Tutorial
Starting a travel website sounds exciting until you actually sit down to build one.
You may have the photos, the stories, the travel tips, maybe even a cool idea for a digital nomad portfolio or a small travel service. But then comes the annoying part: design, layout, mobile responsiveness, pages, buttons, images, hosting, SEO… and suddenly the website idea gets pushed into the “I’ll do it later” folder.
The good news is that you don’t need to design everything from zero. If you use free html5 templates, you can build a clean, modern travel website much faster than most people expect.
In this tutorial, we’ll walk through how to create a travel website using a free HTML5 template. This works whether you want to build a travel blog, a digital nomad portfolio, a landing page for tours, or a simple website to share your adventures.
No complicated talk. No pretending you need to be a senior developer. Just a practical step-by-step guide.
Why Free HTML5 Templates Work So Well for Travel Websites
Travel websites are very visual. People want to see places, experiences, photos, maps, guides, and real stories. That means your website needs to look nice, load fast, and work well on mobile.
That’s exactly where HTML5 templates are useful.
A good template already gives you:
- A professional layout
- Mobile-friendly sections
- Clean design
- Ready-made pages
- Image areas for travel photos
- Basic code structure
Instead of spending days trying to figure out how everything should look, you can start with a finished structure and customize it with your own content.
This is especially useful if you’re traveling and working from cafés, airports, hotels, coworking spaces, or anywhere with unstable Wi-Fi. You probably don’t want a complicated setup. You want something that works.
Step 1: Decide What Type of Travel Website You Want
Before choosing a template, get clear on what kind of website you’re building.
Here are a few common options:
Travel Blog
This is perfect if you want to write about places you visit, share travel guides, publish tips, or document your journey.
Your template should include:
- A blog layout
- Featured image sections
- Readable article pages
- Simple navigation
Digital Nomad Portfolio
If you’re a freelancer, remote worker, designer, writer, developer, photographer, or consultant, your website can show who you are and what you do.
Your template should include:
- About section
- Portfolio section
- Services section
- Contact form
Travel Agency or Tour Website
If you offer tours, travel planning, local experiences, or destination guides, your website needs to build trust quickly.
Look for a template with:
- Hero section
- Service cards
- Testimonials
- Booking or contact buttons
Personal Travel Page
Maybe you don’t want a full blog. Maybe you just want a simple website with your favorite photos, travel map, short bio, and social links. That’s totally fine too.
In that case, choose a clean one-page template.
Step 2: Choose the Right Free HTML5 Template
Now that you know what you’re building, it’s time to pick a template.
Don’t choose the first design that looks fancy. A beautiful template can still be annoying to edit if the code is messy or the layout is too heavy.
Look for a template that has:
- A simple structure
- Responsive design
- Fast loading sections
- Clean typography
- Good image placement
- Clear navigation
For travel websites, image-heavy templates usually work well, but be careful. Too many large photos can slow down the site. You want visual, not overloaded.
A good rule is this: if the template looks nice even with simple content, it’s probably a strong choice.
Step 3: Download the Template and Check the Files
After downloading your template, unzip the folder and look inside.
You’ll usually see files and folders like:
index.htmlabout.htmlblog.htmlcontact.htmlcssfolderjsfolderimagesfolder
Open the main index.html file in your browser. This lets you preview the template locally before uploading anything online.
Then open the folder in a code editor like Visual Studio Code. You don’t need to understand every single line. Most of the time, you’ll mainly be editing text, links, images, and a few style details.
Step 4: Replace the Demo Content With Your Own Travel Content
This is where the website starts feeling like yours.
Most templates come with placeholder text. You’ll see things like “Lorem ipsum” or generic headings. Replace all of that with your own content.
For a Travel Blog
You could write sections like:
- Latest travel stories
- Destination guides
- Packing tips
- Budget travel advice
- City guides
For a Nomad Portfolio
You could include:
- Your short bio
- What services you offer
- Where you’ve worked from
- Client examples
- Contact details
For a Travel Service
Add useful information like:
- What you offer
- Who it’s for
- Pricing or package details
- Frequently asked questions
- Contact or booking button
Try to write like a real person. You don’t need to sound overly polished. If your travel brand is relaxed and friendly, your website copy should feel the same way.
Step 5: Add Your Own Travel Images
Images matter a lot on travel websites.
A plain website can instantly feel alive when you add real photos from beaches, cities, mountains, food markets, train stations, coworking spaces, or whatever fits your story.
Before uploading images, rename them properly. Instead of something like:
IMG_8842.jpg
Use something descriptive like:
bali-digital-nomad-cafe.jpg
This is better for organization and can also help with SEO.
Also, compress your images before adding them. Large image files can make your website painfully slow, especially for users browsing on mobile data while traveling.
Step 6: Customize Colors, Fonts, and Buttons
You don’t have to redesign the whole template. Small changes are enough to make it feel different.
You can adjust:
- Main brand color
- Button colors
- Font sizes
- Background colors
- Spacing between sections
For a travel website, natural colors usually work nicely. Think ocean blue, sunset orange, sand beige, forest green, or simple black and white if you want a clean editorial style.
Don’t overdo it. Two or three main colors are enough.
Step 7: Make the Website Easy to Navigate
Travel websites should be easy to explore.
Your menu could include:
- Home
- About
- Destinations
- Blog
- Services
- Contact
If you’re building a one-page website, your menu can simply jump to different sections of the same page.
The goal is simple: visitors should know where to click without thinking too hard.
Step 8: Make It Mobile-Friendly
This part is non-negotiable.
Most people browsing travel content are on their phones. They might be sitting in an airport, walking around a city, checking guides from a hotel room, or looking up information while on the move.
So your website needs to look good on small screens.
Check these things:
- Is the menu easy to use?
- Are buttons big enough to tap?
- Is the text readable?
- Do images fit the screen?
- Does the page load quickly?
Most free HTML5 templates are already responsive, but you should still test everything yourself.
Step 9: Think About Travelers With Slow Internet
A travel website should not only look pretty. It should also work in real travel situations.
People may visit your site using airport Wi-Fi, mobile data, hotel internet, or a weak café connection. If your pages are too heavy, they may leave before the site fully loads.
Keep your site lightweight by:
- Compressing images
- Removing unused scripts
- Avoiding too many animations
- Keeping pages simple
Also, travelers often need easy internet access when moving between countries. If your audience includes digital nomads or frequent travelers, it makes sense to mention practical tools naturally, like a free esim, especially when talking about staying connected abroad without dealing with physical SIM cards or expensive roaming.
That kind of detail fits naturally into travel content because it solves a real problem travelers actually have.
Step 10: Add Basic SEO to Your Website
You don’t need to become an SEO expert to launch your site, but you should cover the basics.
Use One Clear H1
Your homepage should have one main heading that clearly explains what the site is about.
Example:
Travel Guides and Remote Work Tips From Around the World
Use Helpful Page Titles
Each page should have a title that makes sense.
Instead of:
Page 1
Use:
Budget Travel Tips for First-Time Backpackers
Add Meta Descriptions
A meta description is the short text that can appear in search results. Keep it clear and inviting.
Add Alt Text to Images
Alt text helps search engines and improves accessibility.
Instead of:
image of place
Use:
Digital nomad working from a beach cafe in Thailand
Step 11: Create Important Pages
Even a simple travel website should have a few important pages.
Homepage
This is your first impression. Keep it clear, visual, and easy to understand.
About Page
Tell people who you are. Share your travel style, your story, and why the website exists.
Blog or Guides Page
This is where you publish useful content. Destination guides, packing tips, travel costs, remote work advice, and personal stories all work well here.
Contact Page
Make it easy for people to reach you. Add a contact form, email address, or social links.
Step 12: Test Everything Before Publishing
Before going live, check every important part of the website.
Test:
- Menu links
- Buttons
- Contact forms
- Images
- Mobile layout
- Page speed
- Spelling and grammar
It’s very easy to miss small things, especially when editing a template. Click through the website like a visitor would.
If something feels confusing, simplify it.
Step 13: Upload and Publish Your Website
Once everything looks good, it’s time to publish.
You can upload your HTML5 website using:
- Shared hosting
- cPanel file manager
- FTP software
- Static hosting platforms
- GitHub Pages
- Netlify
If you’re new, shared hosting or static hosting is usually the easiest option.
After uploading, open your domain and test the live version again. Sometimes things work locally but break online because of file paths or missing images.
Common Mistakes to Avoid
Leaving Demo Text
This happens more often than you’d think. Always search your files for placeholder text before publishing.
Using Too Many Large Images
Travel websites need images, but huge files will slow everything down. Compress them first.
Making the Menu Too Complicated
Keep navigation simple. Visitors should not need a map to use your website.
Forgetting Mobile Users
Your site may look amazing on your laptop but messy on a phone. Always test mobile view.
Trying to Make It Perfect Before Launch
Your first version does not need to be perfect. Launch it, then improve it over time.
Final Thoughts
Building a travel website doesn’t have to be stressful or expensive.
With free HTML5 templates, you can create a clean, fast, and professional-looking website without starting from a blank page. That’s a big win, especially if you’re a traveler, blogger, freelancer, or digital nomad trying to build something while moving around.
Start simple. Pick a template, add your content, upload your photos, test everything, and publish.
You can always improve the site later. Add more pages, publish more guides, improve the design, or connect it with other tools as your project grows.
The most important part is getting started.
Your travel website doesn’t need to be perfect on day one. It just needs to exist.
Leave a Reply